
Example tutorial for creating a scalable XR object that brightens and LED the larger it gets.
What is needed
- A VR-capable computer
- Meta Quest 2
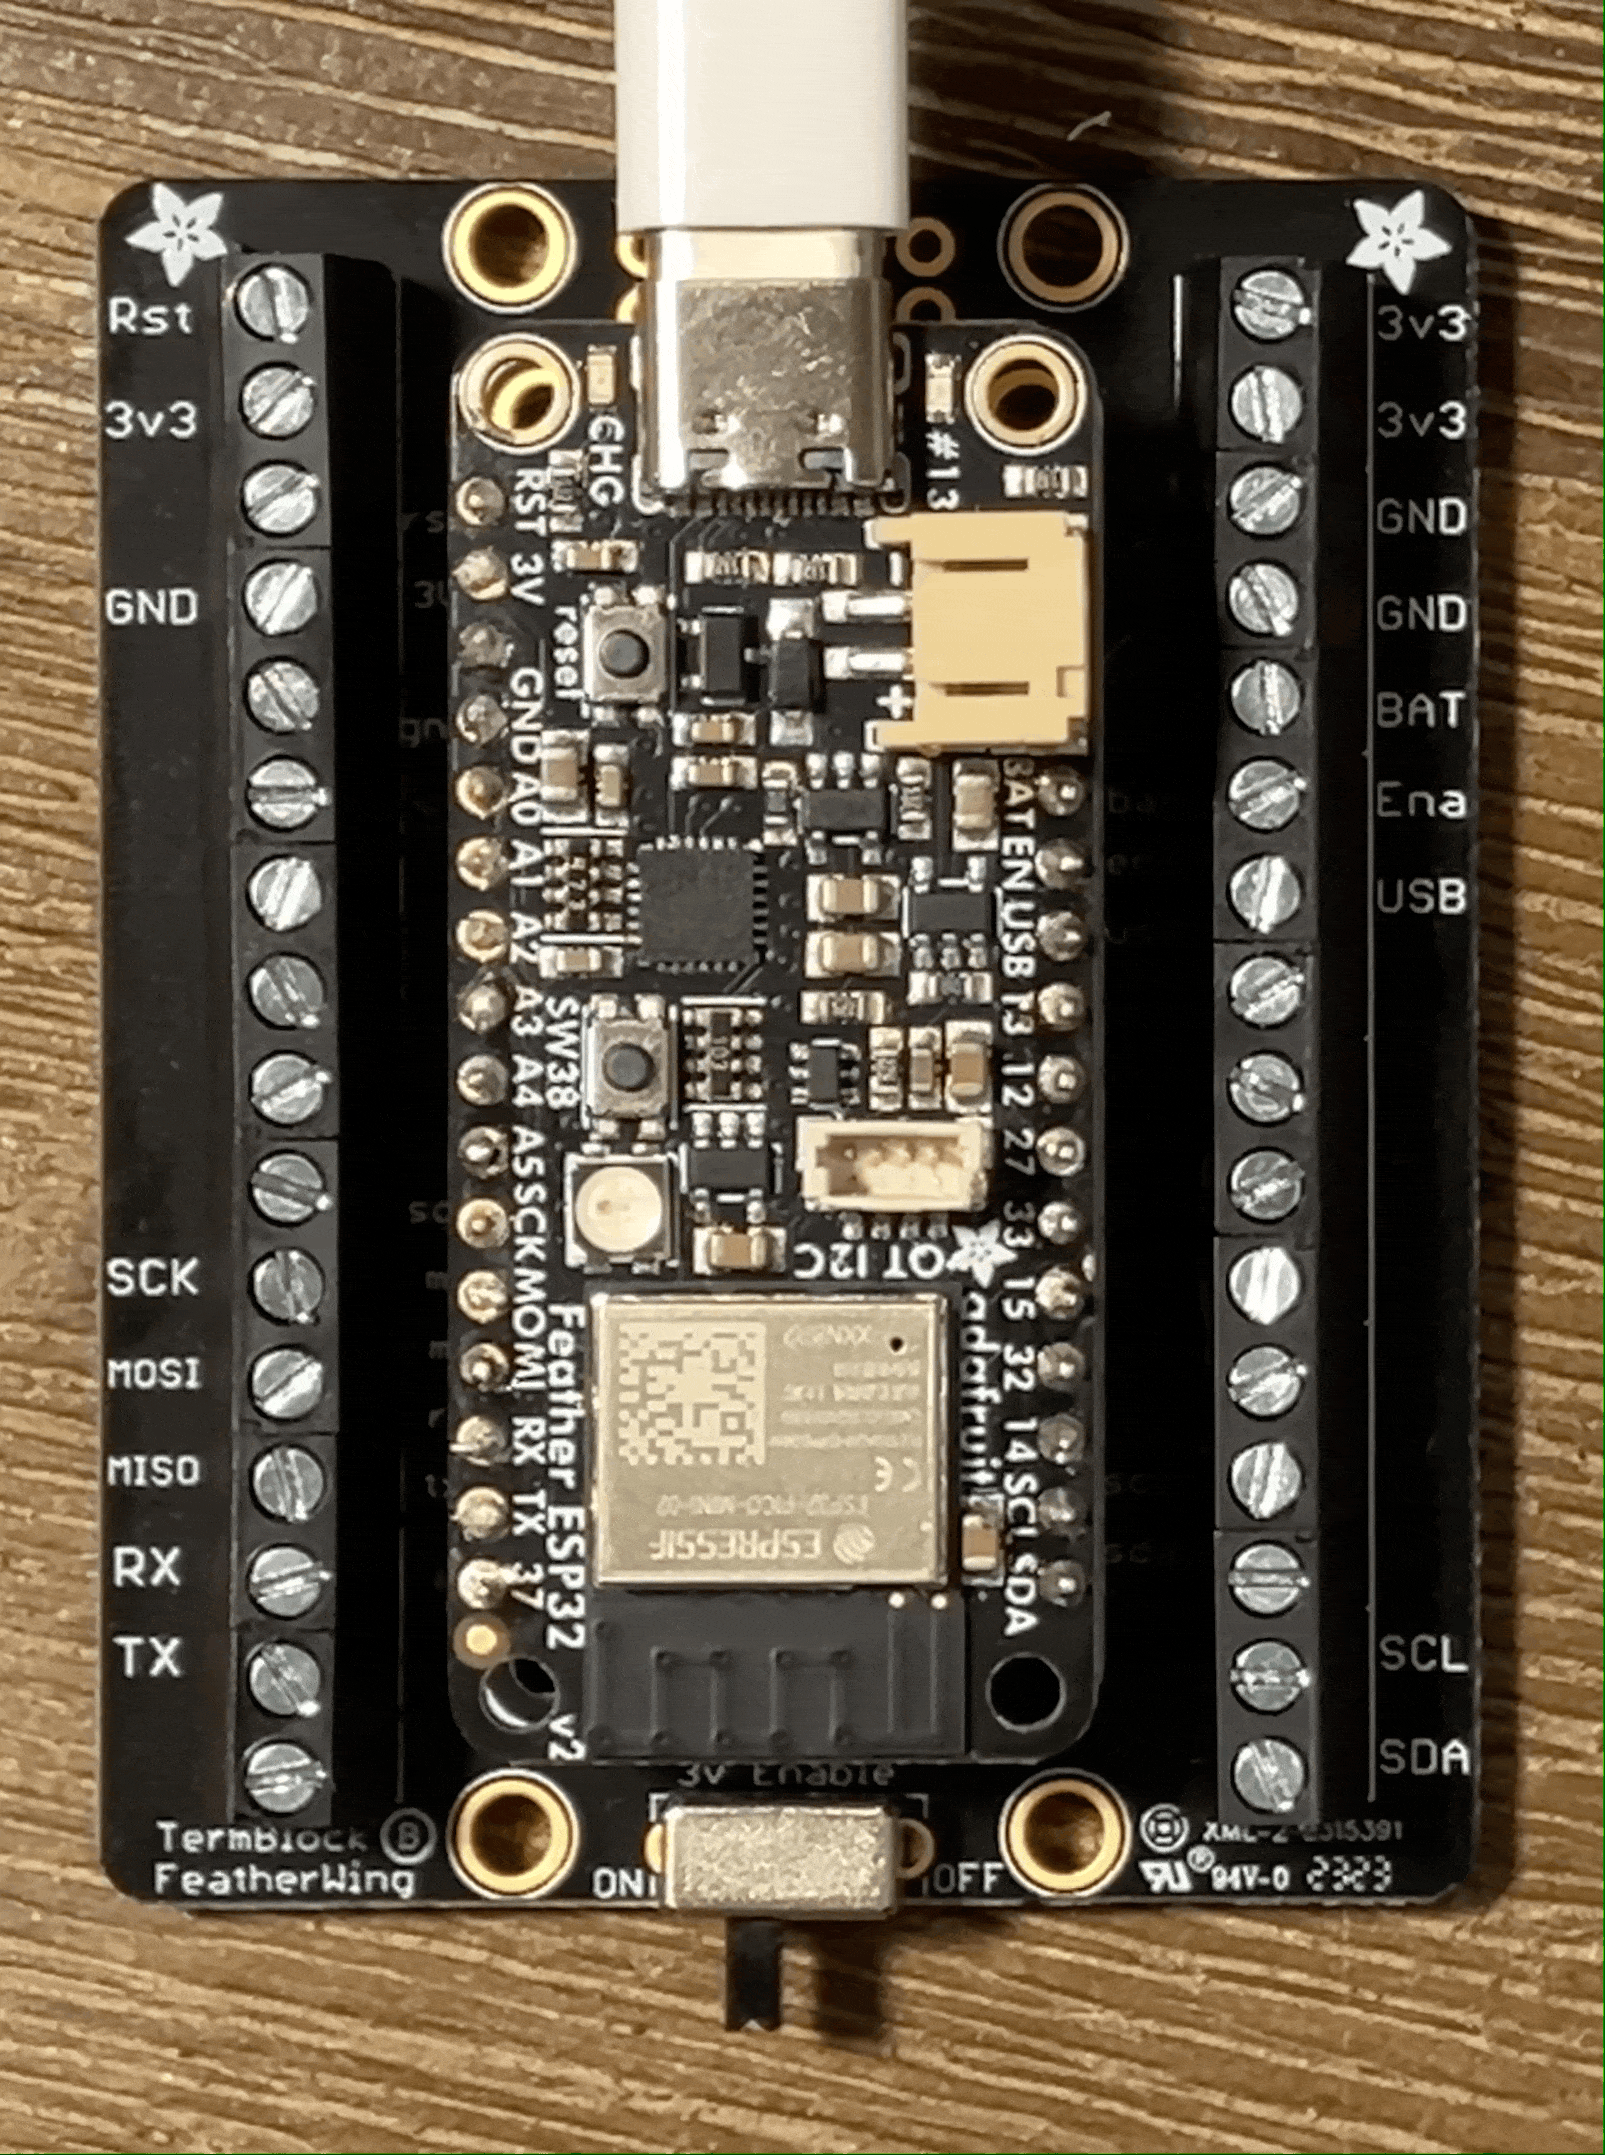
- Adafruit Feather ESP32 V2 Board
- Unity with Android (API 32 or lower) installed
Step by Step
Create Two Hand Grip Object
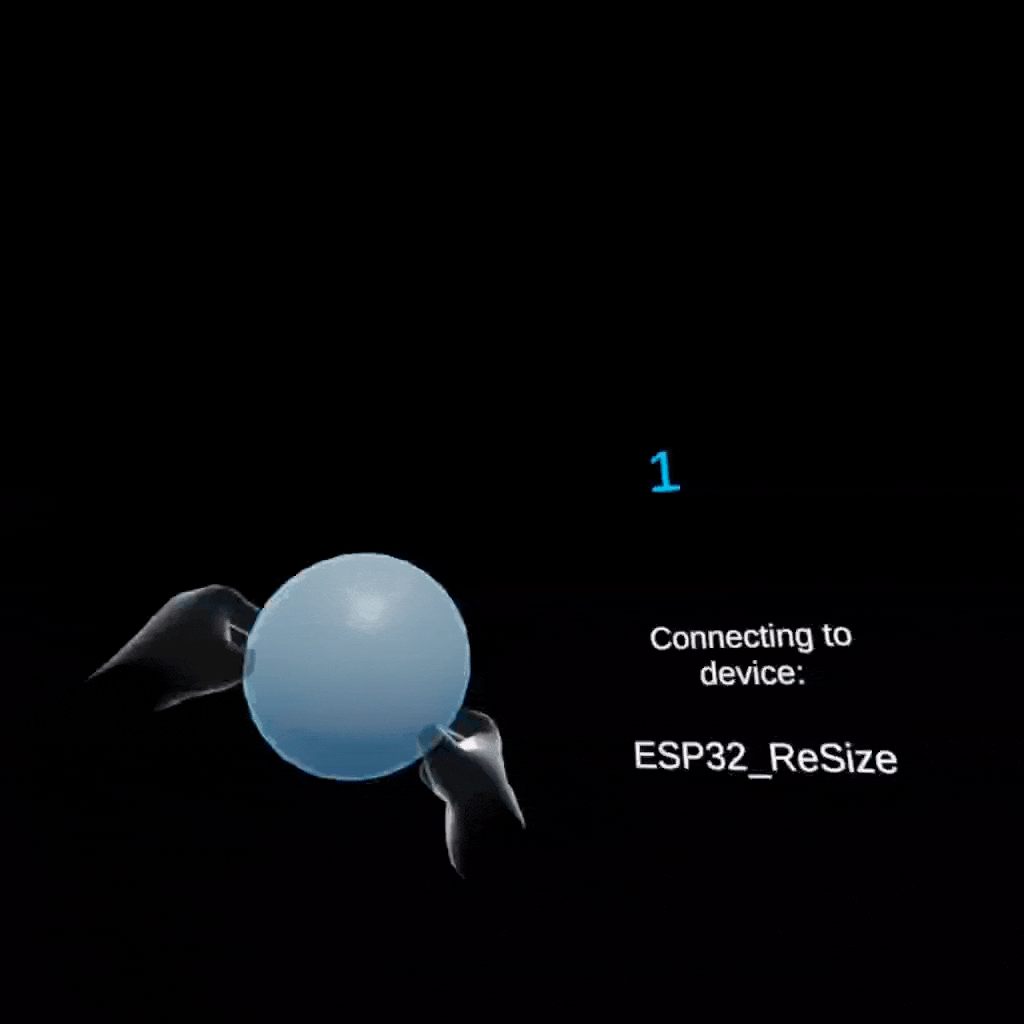
- Complete Part 1 of the Connecting a VR headset and Microcontroller Instructable
- In the Hierarchy, add a 3D Object (a sphere). Scale and position the object so that it is within the player’s reach.
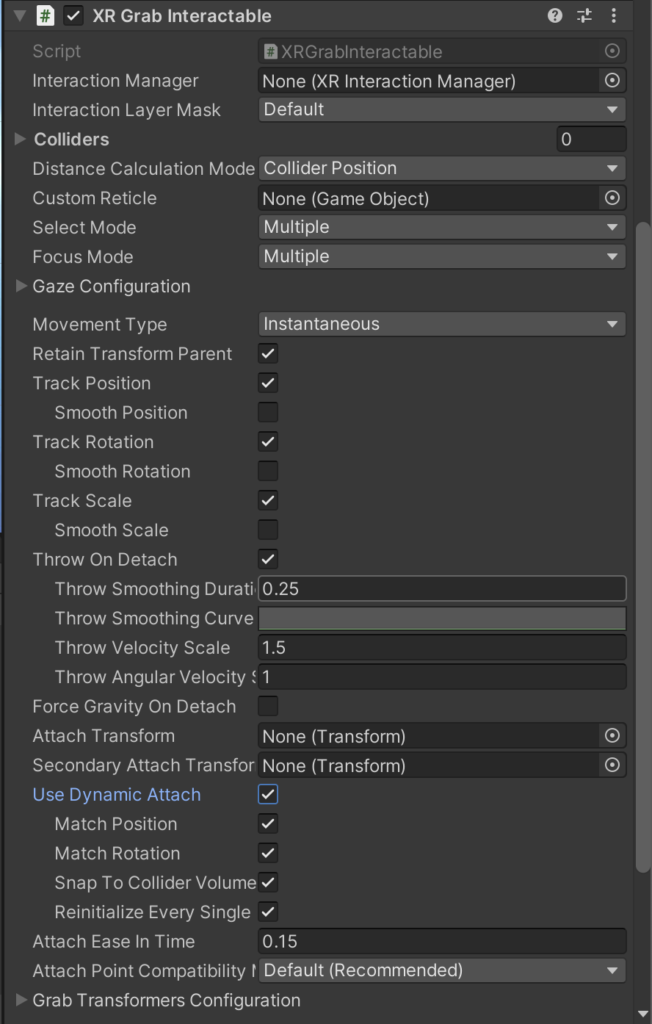
- Add the component XR Grab Interactable and change the following:
- Select Focus: Multiple
- Focus Mode: Multiple
- Use Dynamic Attach: Checked
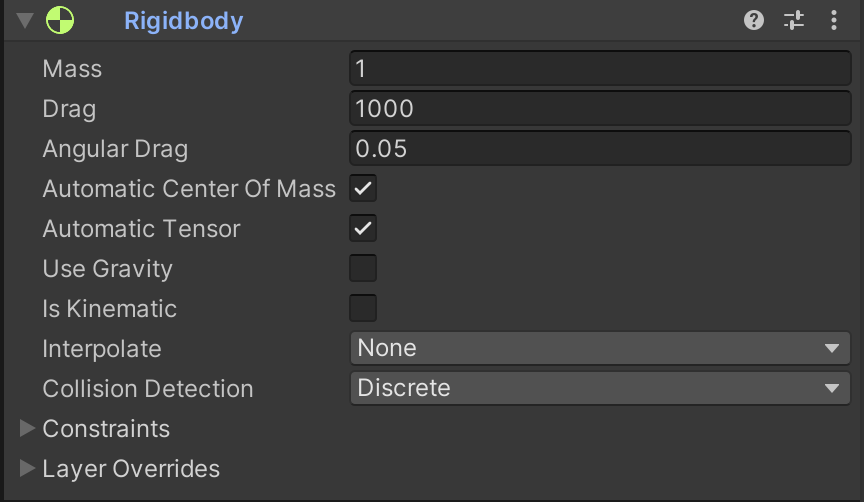
- In the Rigid Body component, turn off “Use Gravity” and increase “Drag” to 1000.
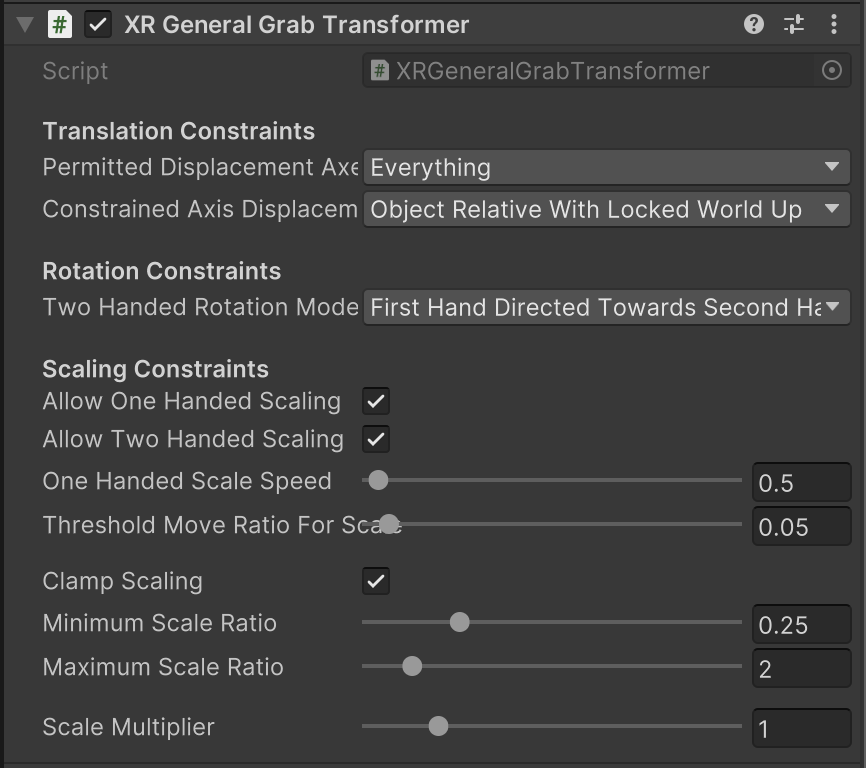
- Add the component XR General Grab Transformer, and change the following:
- Allow two hand scaling: Checked
- Scale multiplier: 1
- You can change the “Clamp Scaling: Min and Max” to whatever you like.
Debug the actual scale of the object
- In your 3D object’s inspector, create a new script via add component named “changeScale”. Open the script by double clicking on the generated script file
- Add to the “using” list at the top of your script:
using UnityEngine.XR.Interaction.Toolkit.Transformers;- Create two new class parameters (around line 8):
// variables declared outside functions are variables all
//functions can access
private float minScale;
private float maxScale;- In the Start() function add the following:
// grab XR General Grab Transformer object and store in variable
XRGeneralGrabTransformer transformer = gameObject.<XRGeneralGrabTransformer>();
minScale = transformer.minimumScaleRatio * transform.localScale.x;
// use the XR General Grab Transformer’s minimum and maximum scale ratio to calculate the minimum and maximum scale values
maxScale = transformer.maximumScaleRatio * transform.localScale.x;- Create a new function at the end of the class block (right before the last } ).
// function that calculates the scale change as a level brightness
private void SendScalePeriodically(){
// The brightness of an LED ranges from 1 to 255
// Normalize the object’s scale as value between 1 and 255
   int normalizedScale = (int)Mathf.Lerp(1f, 255f, Mathf.InverseLerp(minScale, maxScale, transform.localScale.x));

// send value to ESP32
   FindAnyObjectByType<ExampleCommunicator>().SendScale(normalizedScale);
}- Add this new function at the end of the Start() function
// InvokeRepeating can call functions periodically during runtime
// 2f is a 2 second delay, 0.5f calls the function every 0.5 seconds
// if the light’s brightness does not change later in the tutorial, try changing 0.5f to 1f. Some setups need more time.
InvokeRepeating(“SendScalePeriodically”,2f,0.5f);- Save and return to Unity. Initially you will receive a compiling error (“SendScale” is missing from the ExampleCommunicator). To amend this, open the ExampleCommunicator script and add the function “SendScale” at the end of the class block.
// function that sends normalized scale value to ESP32
private void SendScale(int scale){
// display text in unity build
   _debugText.text = scale.ToString();
// messages to ESP32 must be a string value
// send scale value to ESP32
   mySingularityManager.sendMessage(scale.ToString(), myDevice);
}
Receive the scale on the ESP32
- Open the “setup_esp32_simple_return.ino” Arduino code
- At the end of void setup() add the following:
// print received message for debugging
// when running your unity build, click the magnifying glass in the top right corner of the Arduino window to open the Serial Monitor
// Make sure the Serial Monitor is set to 9600
Serial.begin(9600);
Add the following in void loop(), after “String data:
BTSerial.readStringUntil(‘\n’);”:
// .toInt() converts the string data into an integer value
// if the data value is NOT 0
if(data.toInt() != 0){
// store data in the scale variable
        int scale = data.toInt();
// analogWrite compared to digitalWrite, allows you to set a
// degree of brightness from 1 to 255
// write to builtin LED pin 13
  analogWrite(13, scale);
// print scale value for debugging
  Serial.println(scale);
}- Comment out the following lines in void loop() by adding “//” at the beginning of each line. You can comment out a group of lines at once by highlighting and pressing CTRL+/ or CMND+/
// digitalWrite(13, LOW);AND
// if (data == "1"){
//   // the 1 turns on the LED on the board
//   digitalWrite(13, HIGH);
//   // this script sends back the following message if a 1 is received
//   BTSerial.println("LED Turned On!");
// }- This will change the brightness of the ESP32’s LED when the object is scaled.
Example tutorial by Tyler Beatty