
Bending Reality is an innovative virtual reality experience that lets you manipulate the digital world with your own body. Wearing a custom-built device on your elbow, you can control a virtual sphere simply by bending your arm.
This unique setup uses a DIY bend sensor attached to your elbow, which translates your physical movements into real-time actions within the virtual environment. Move the sphere back and forth by bending your arm, creating an intuitive and immersive VR experience.
What You Need
Electronic Supplies
- Adafruit ESP32 Feather V2
- Assembled Terminal Block Breakout FeatherWing for all Feathers
- Alligator Clips to Tip Plug (2)
- Conductive Nylon Fabric Tape
- Pressure-Sensitive Conductive Sheet (Velostat/Linqstat)
- 10K ohm Resistor (1)
- 3.7v Lithium Battery
- USB-C Cable
Tools and Materials
- Small Screwdriver
- 3D Printed Feather Casing
- Double sided velcro
- Felt
- Craft Foam
- Scissors
- Double-sided Tape
- Tape
Part 1 – Bend Sensor activating on-board NeoPixel
Wearable pressure sensors can be made with velostat, a conductive sheet that can act as a variable resistor when experiencing changing pressure. Using the same construction method you will create a bend sensor. To incorporate velostat into your circuit, expose one side with positive current and the other with negative. Use serially like any other resistor.
Gather materials
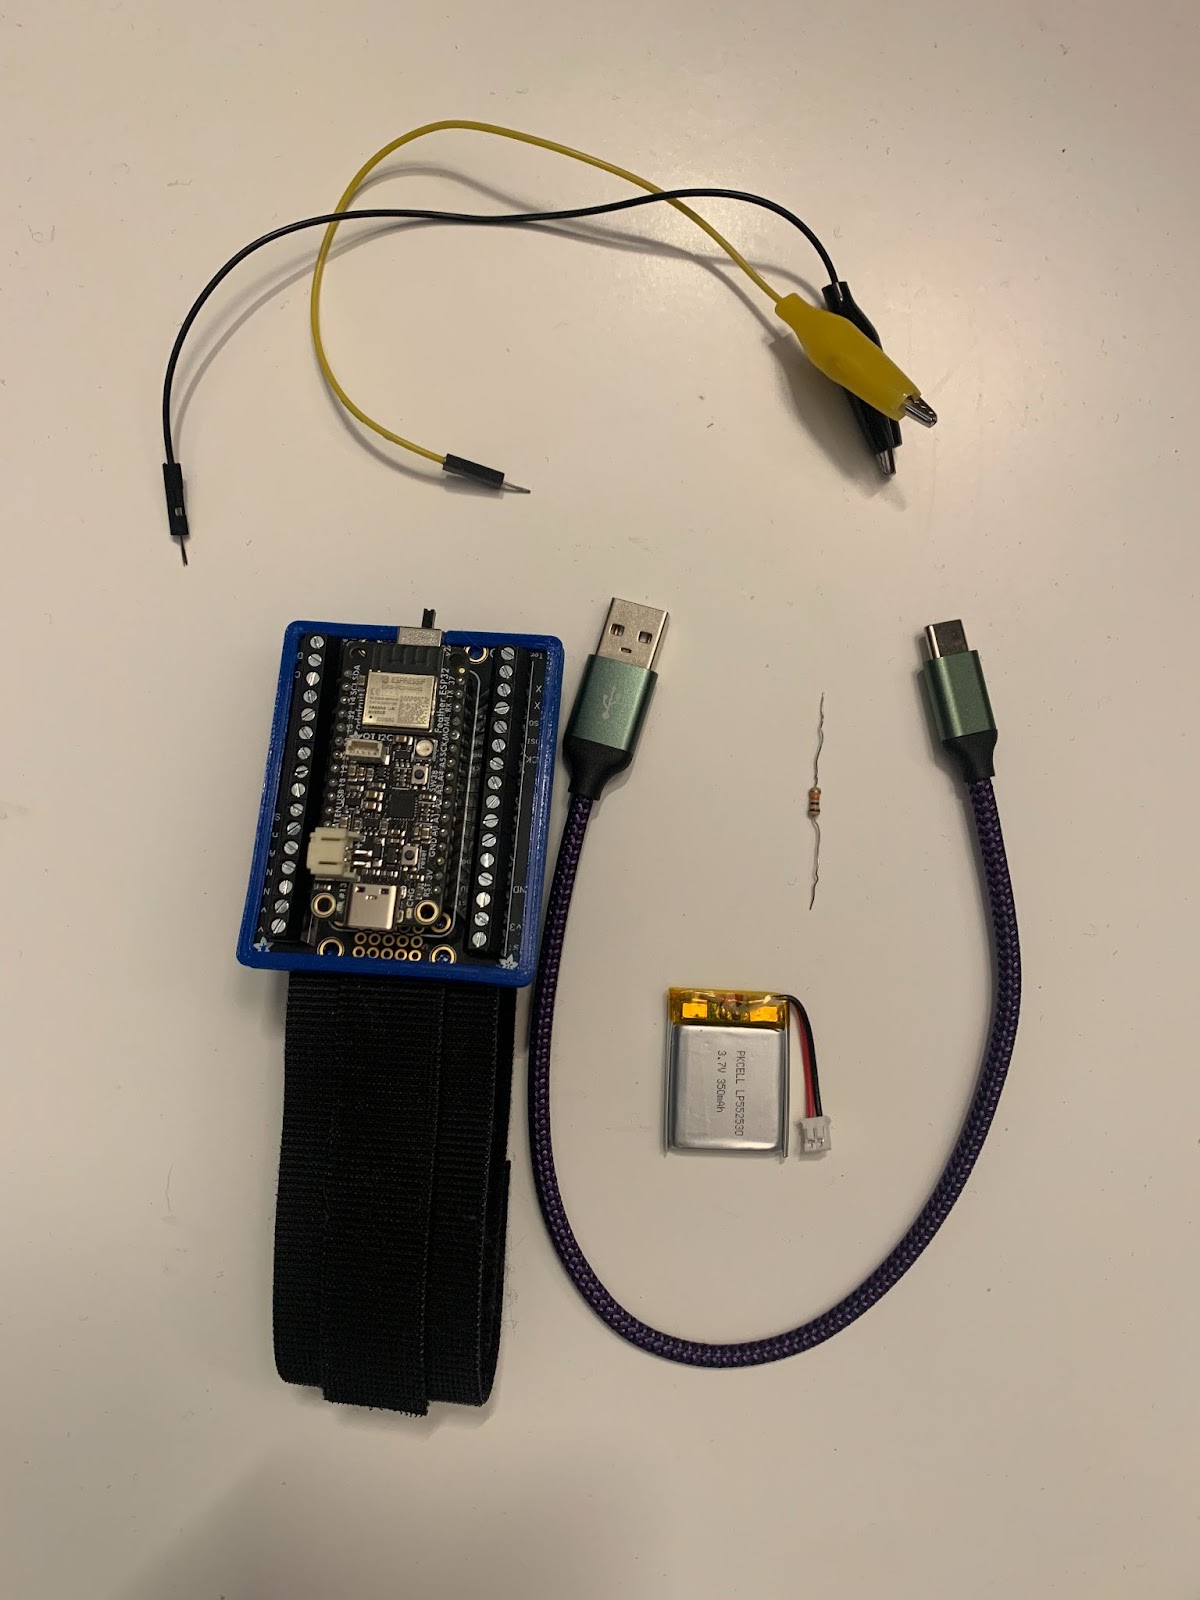
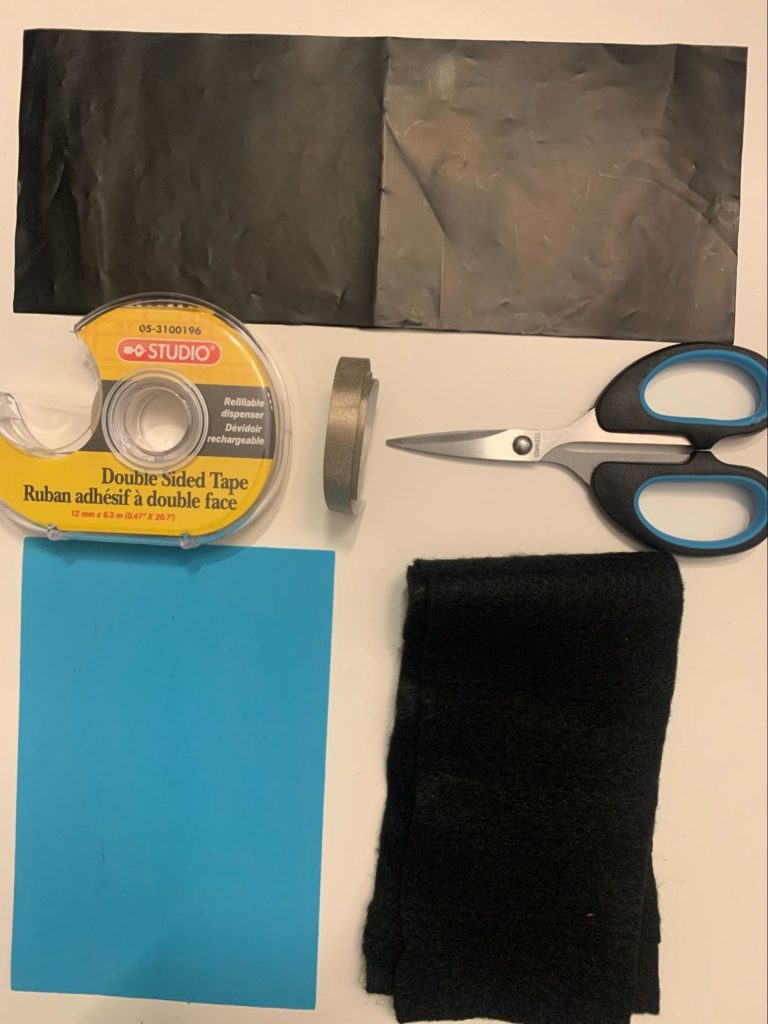
To create your bend sensor first gather all your materials: Scissors, Craft foam, Felt, Conductive Tape, Velostat, Double-sided Tape, ESP32 Feather, 3.7v Lithium Battery, USB-C Cable, Alligator clips to tip plug, 10k ohm resistor.
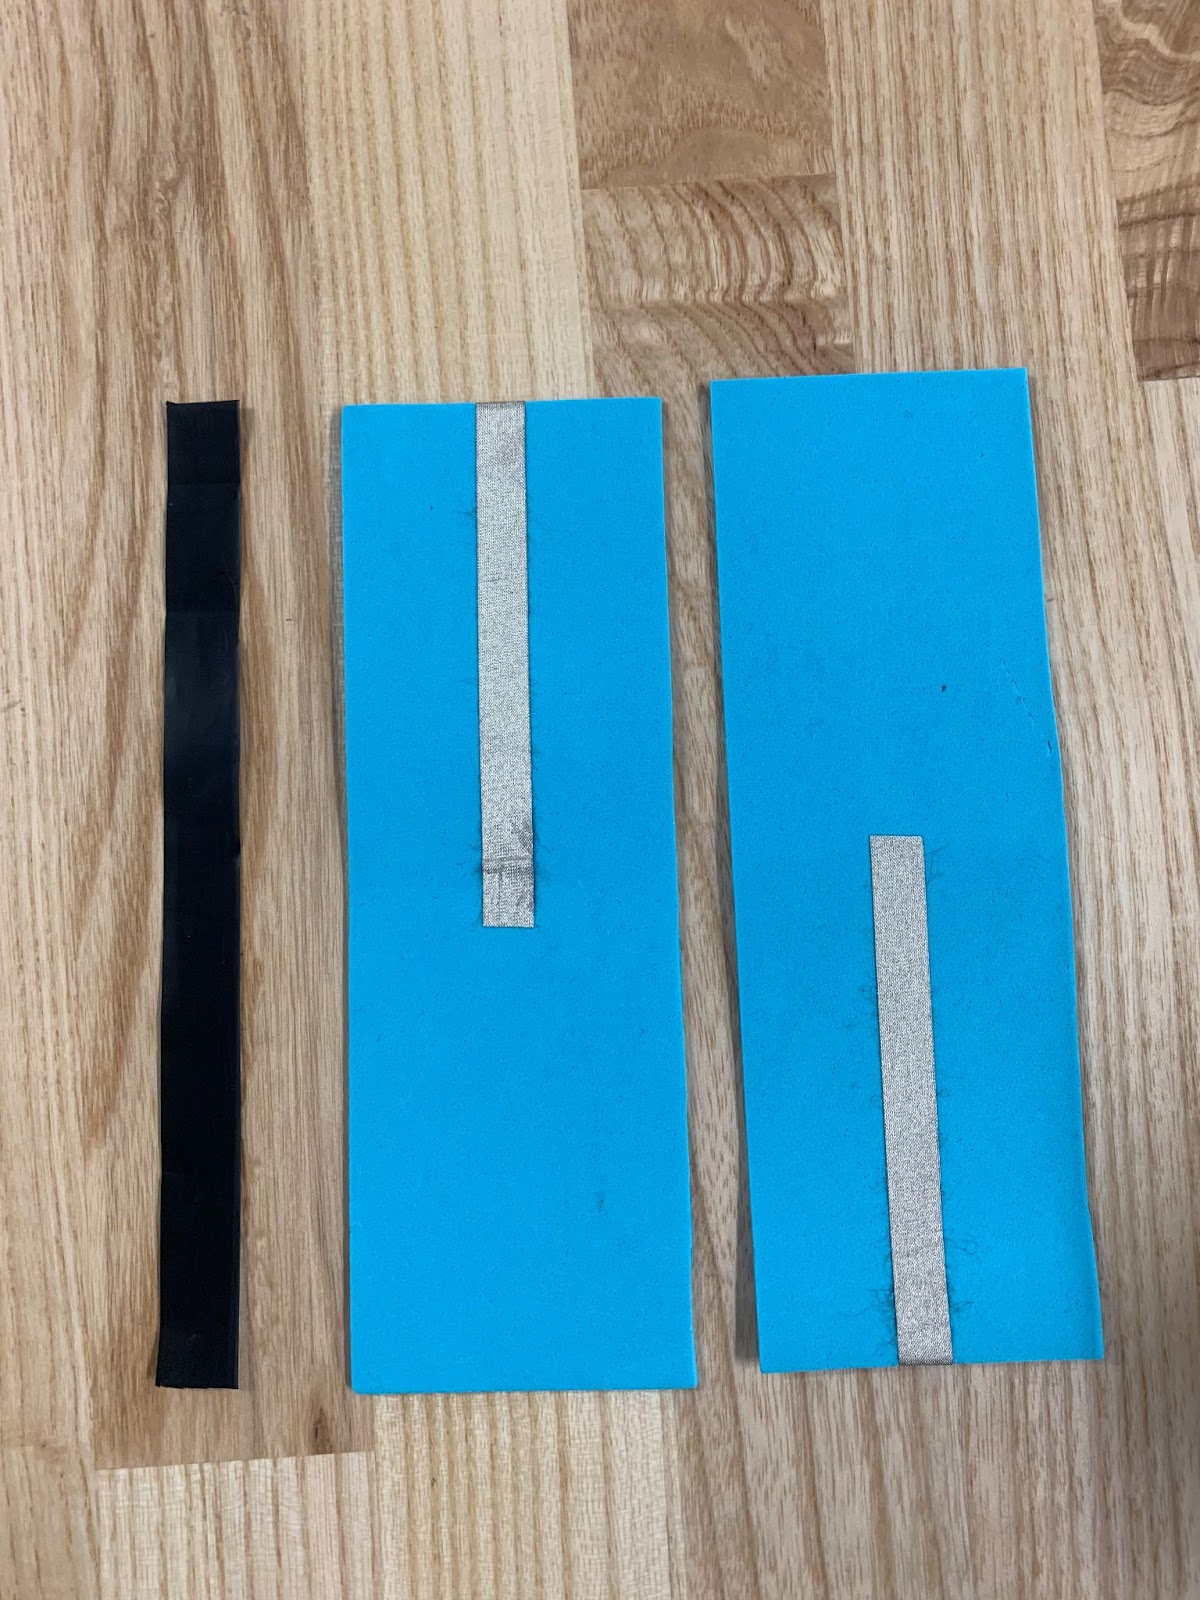
Cut out materials
To create your bend sensor, you will first need to cut out your materials: a long strip of velostat, 2 conductive tape pieces, and 2 foam pieces. Peel off the back of your conductive tape and stick it to the foam pieces making sure it is past the halfway mark of the foam. Be sure to leave a small flap of the conductive tape on the outer side.
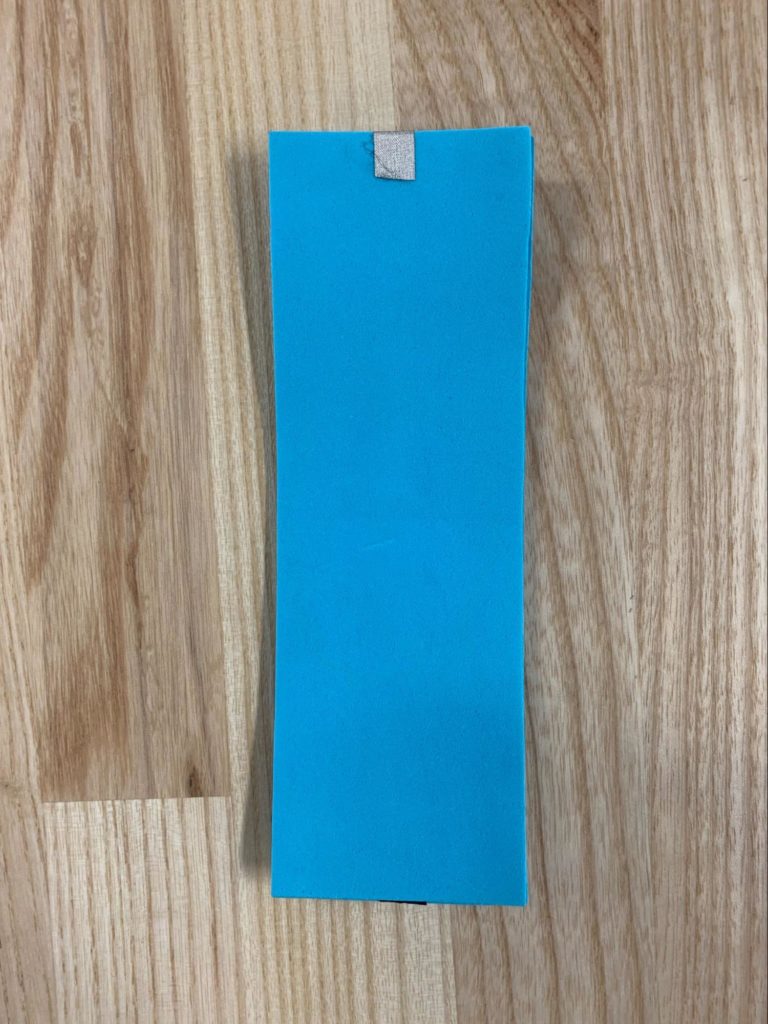
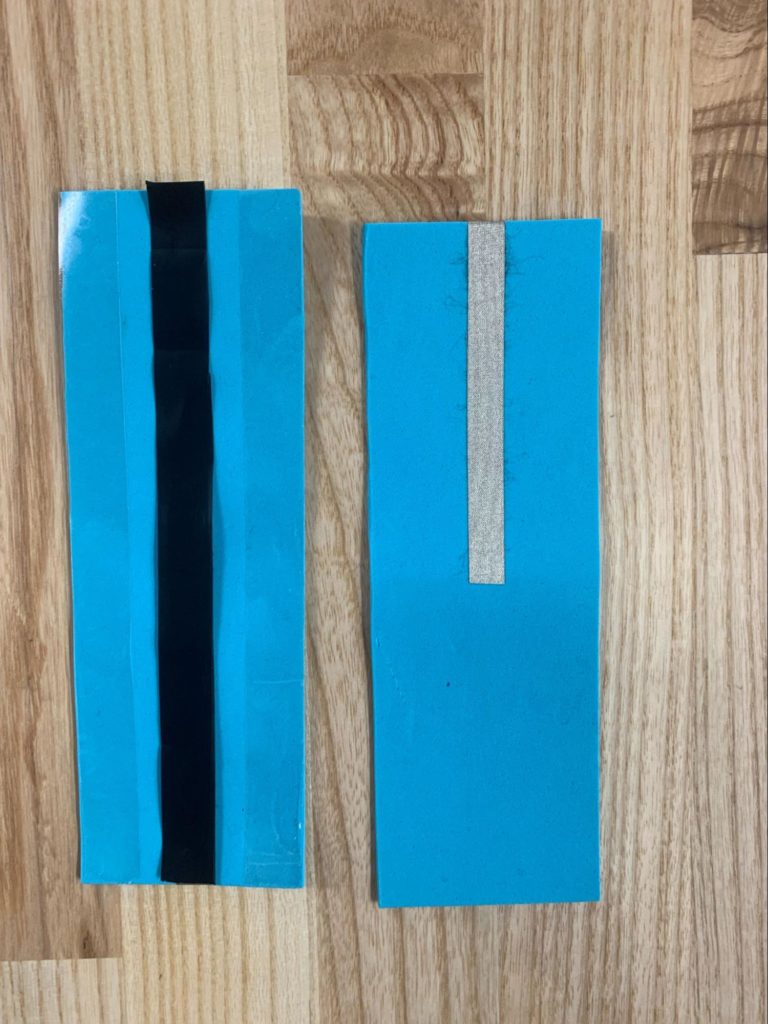
Sandwich the Velostat
On one of the craft foam strips place double-sided tape along the long edges. Then place your velostat strip in the middle of one of the craft foam pieces. Then, flip the other foam piece and place it over top. Internally, the conductive tapes are facing opposite directions, separating the positive and negative ends of the circuit.

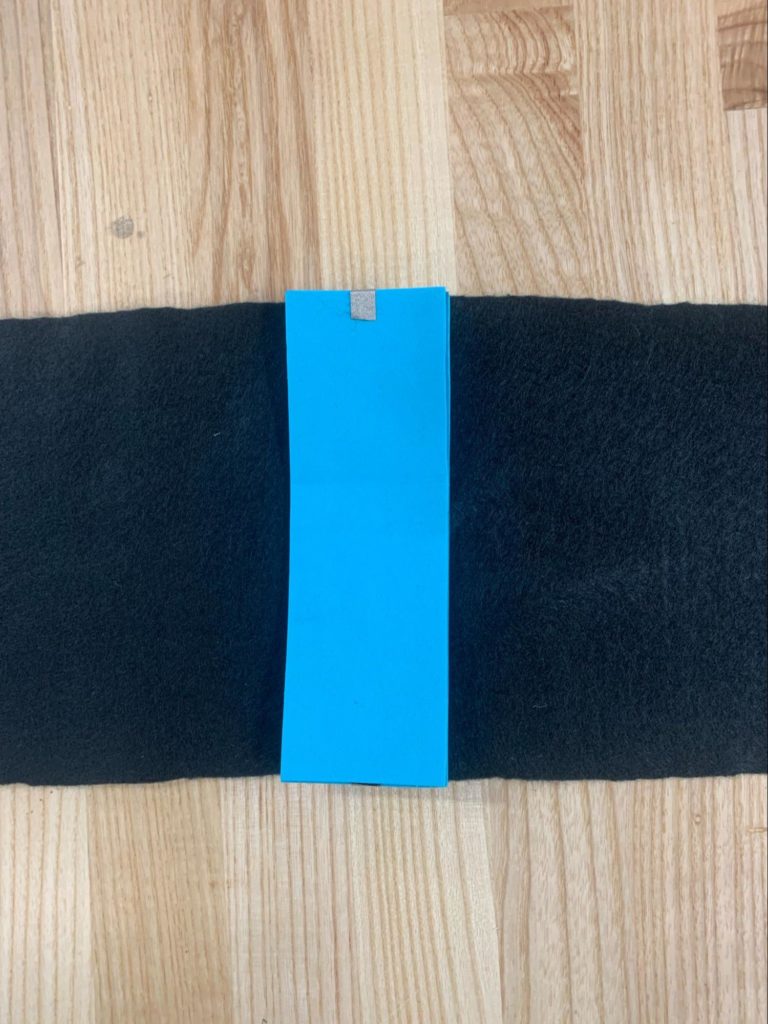
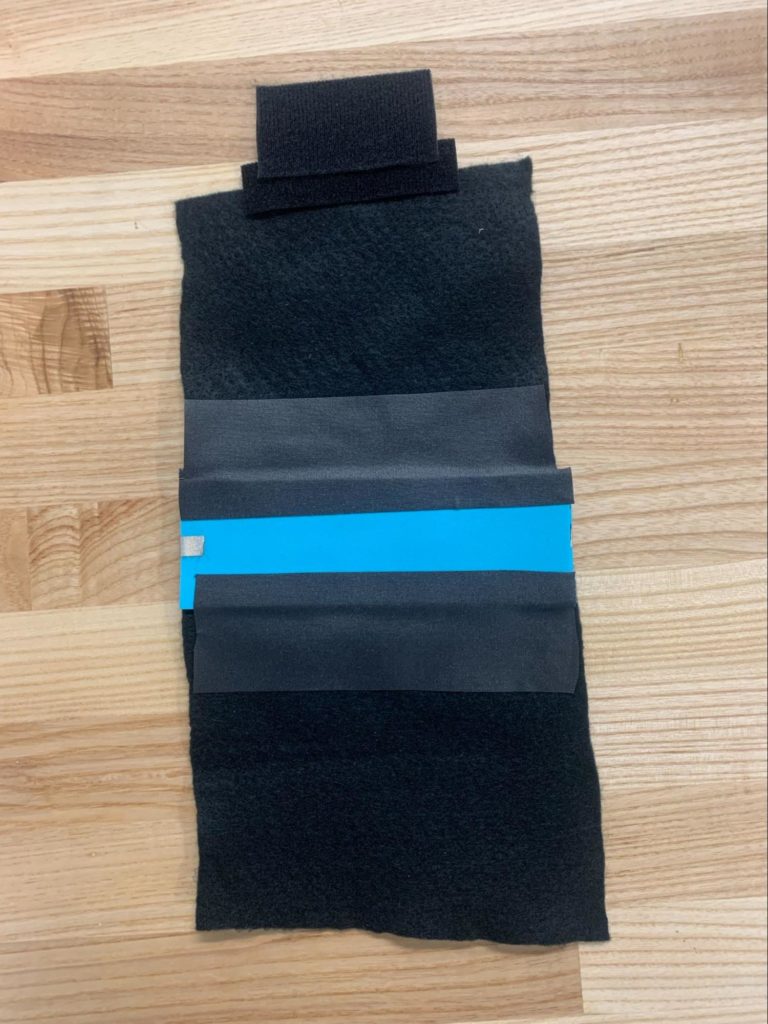
Place the Bend Sensor on the Felt
Once you’ve assembled your bend sensor, place it over a piece of felt large enough to wrap around your elbow. Secure the ends with tape (you can also opt to sew it on the felt). Add double-sided velcro around the felt to make it wearable.
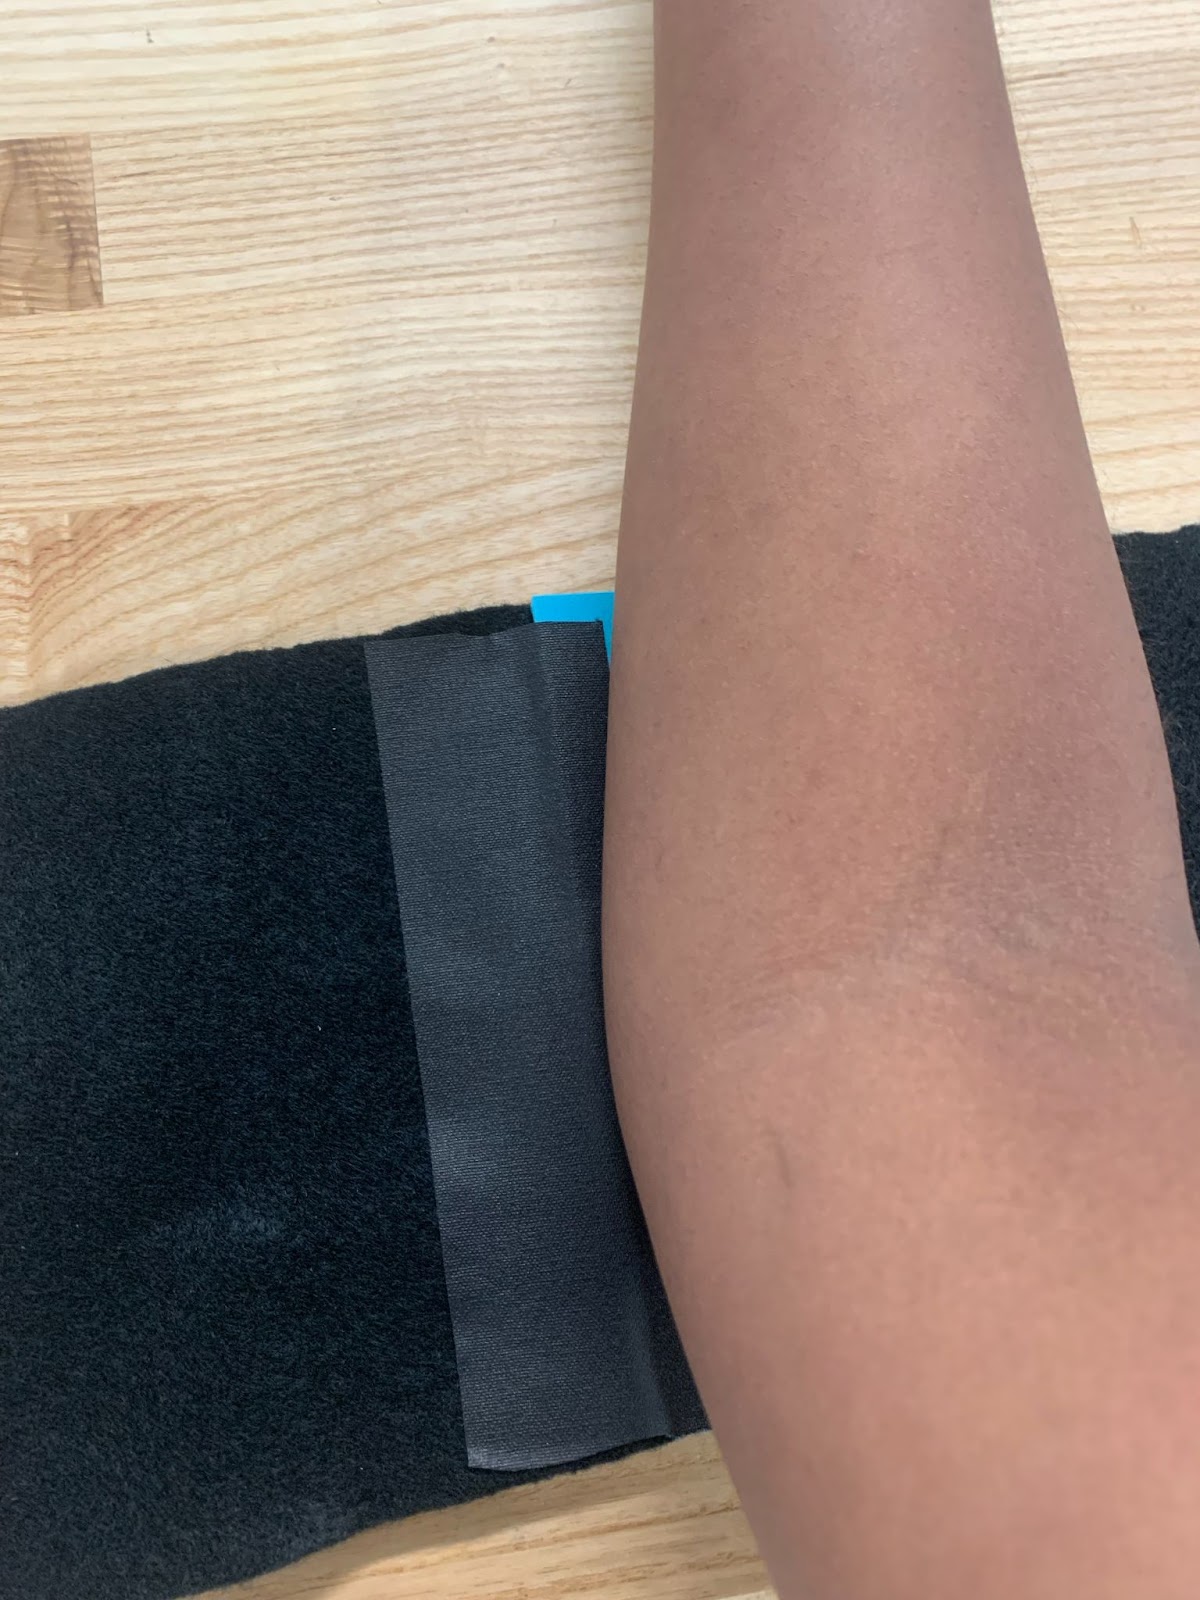
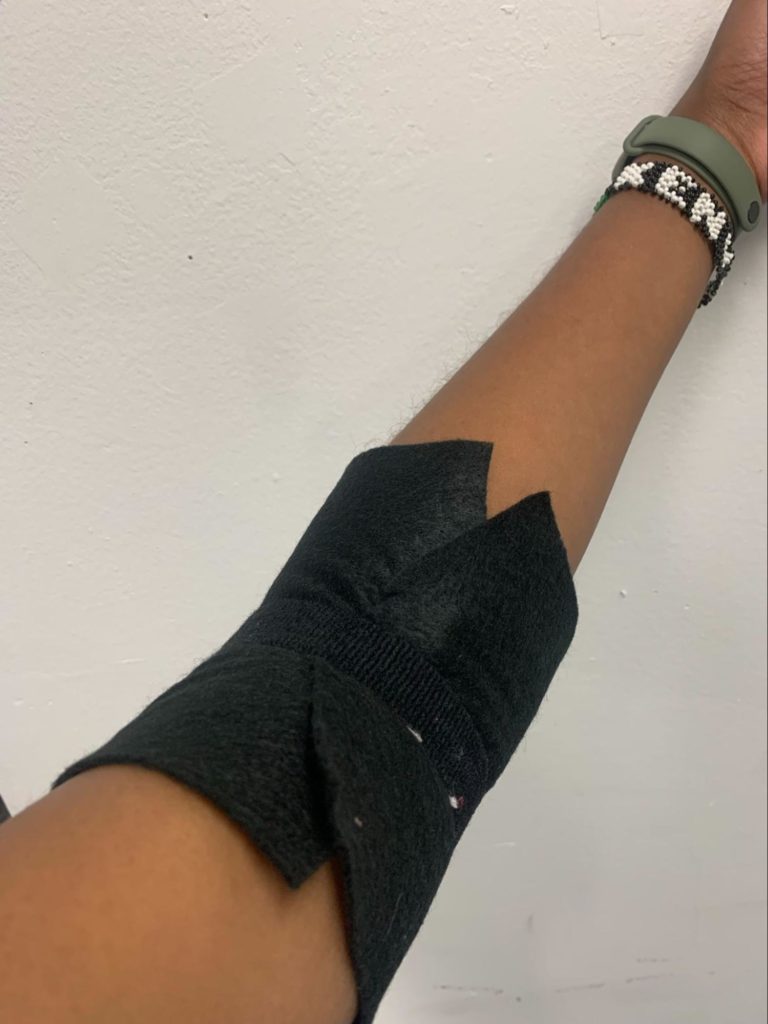
Wear it!
This may be a two-person job. Using the double-sided velcro wrap the bend sensor around your elbow.
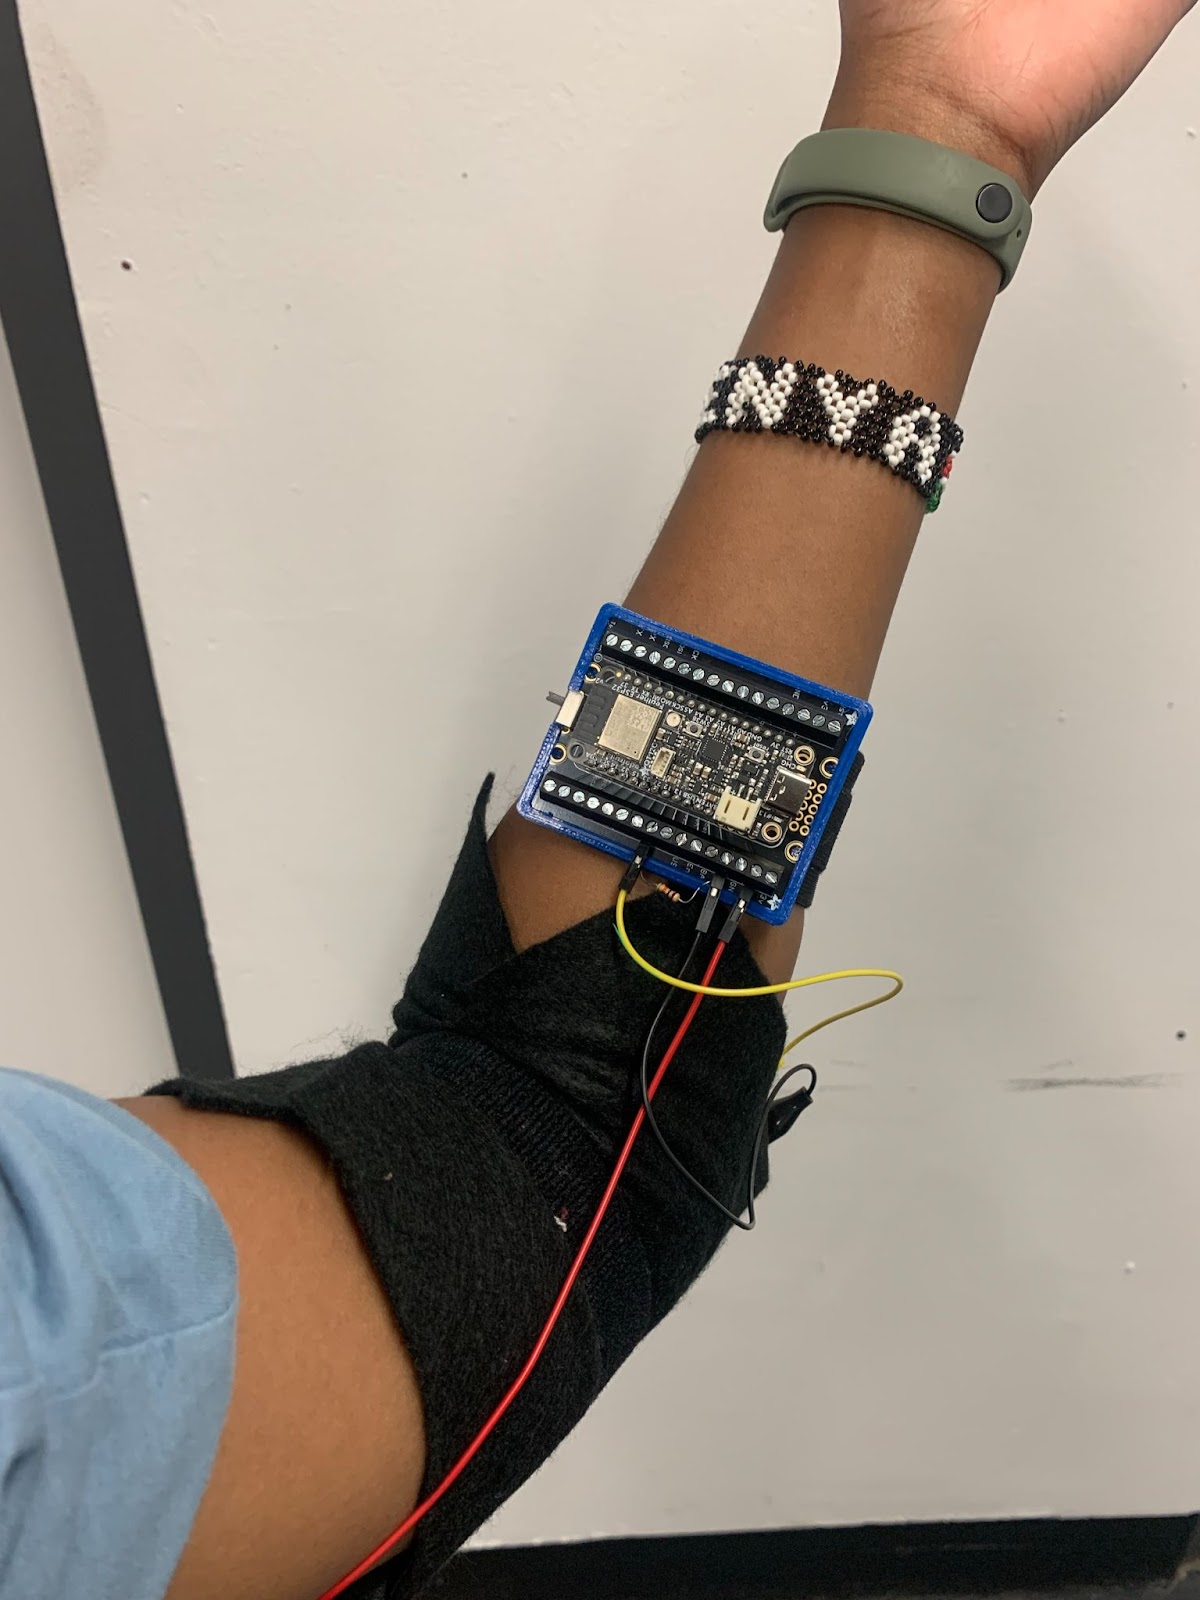
Attach Bend Sensor to ESP32 Feather
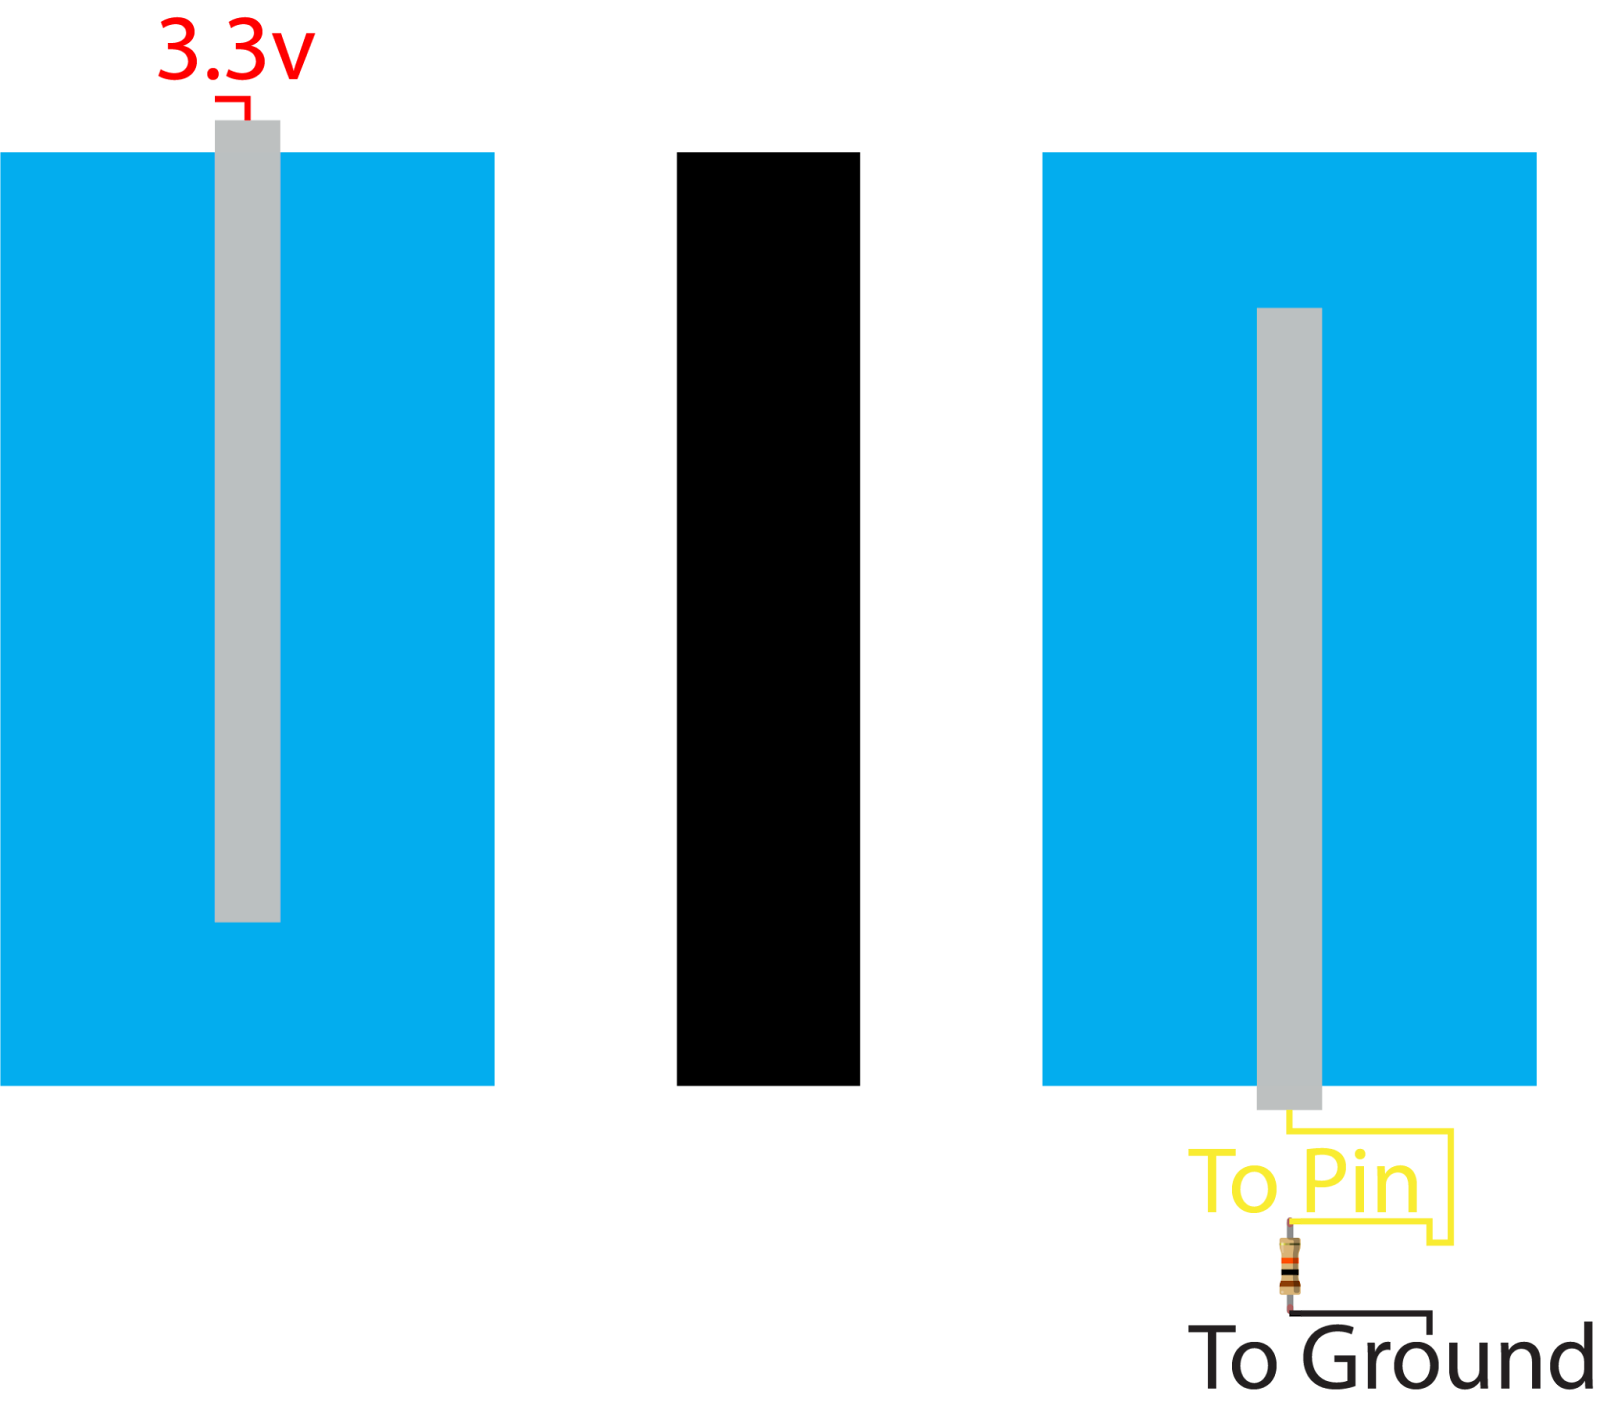
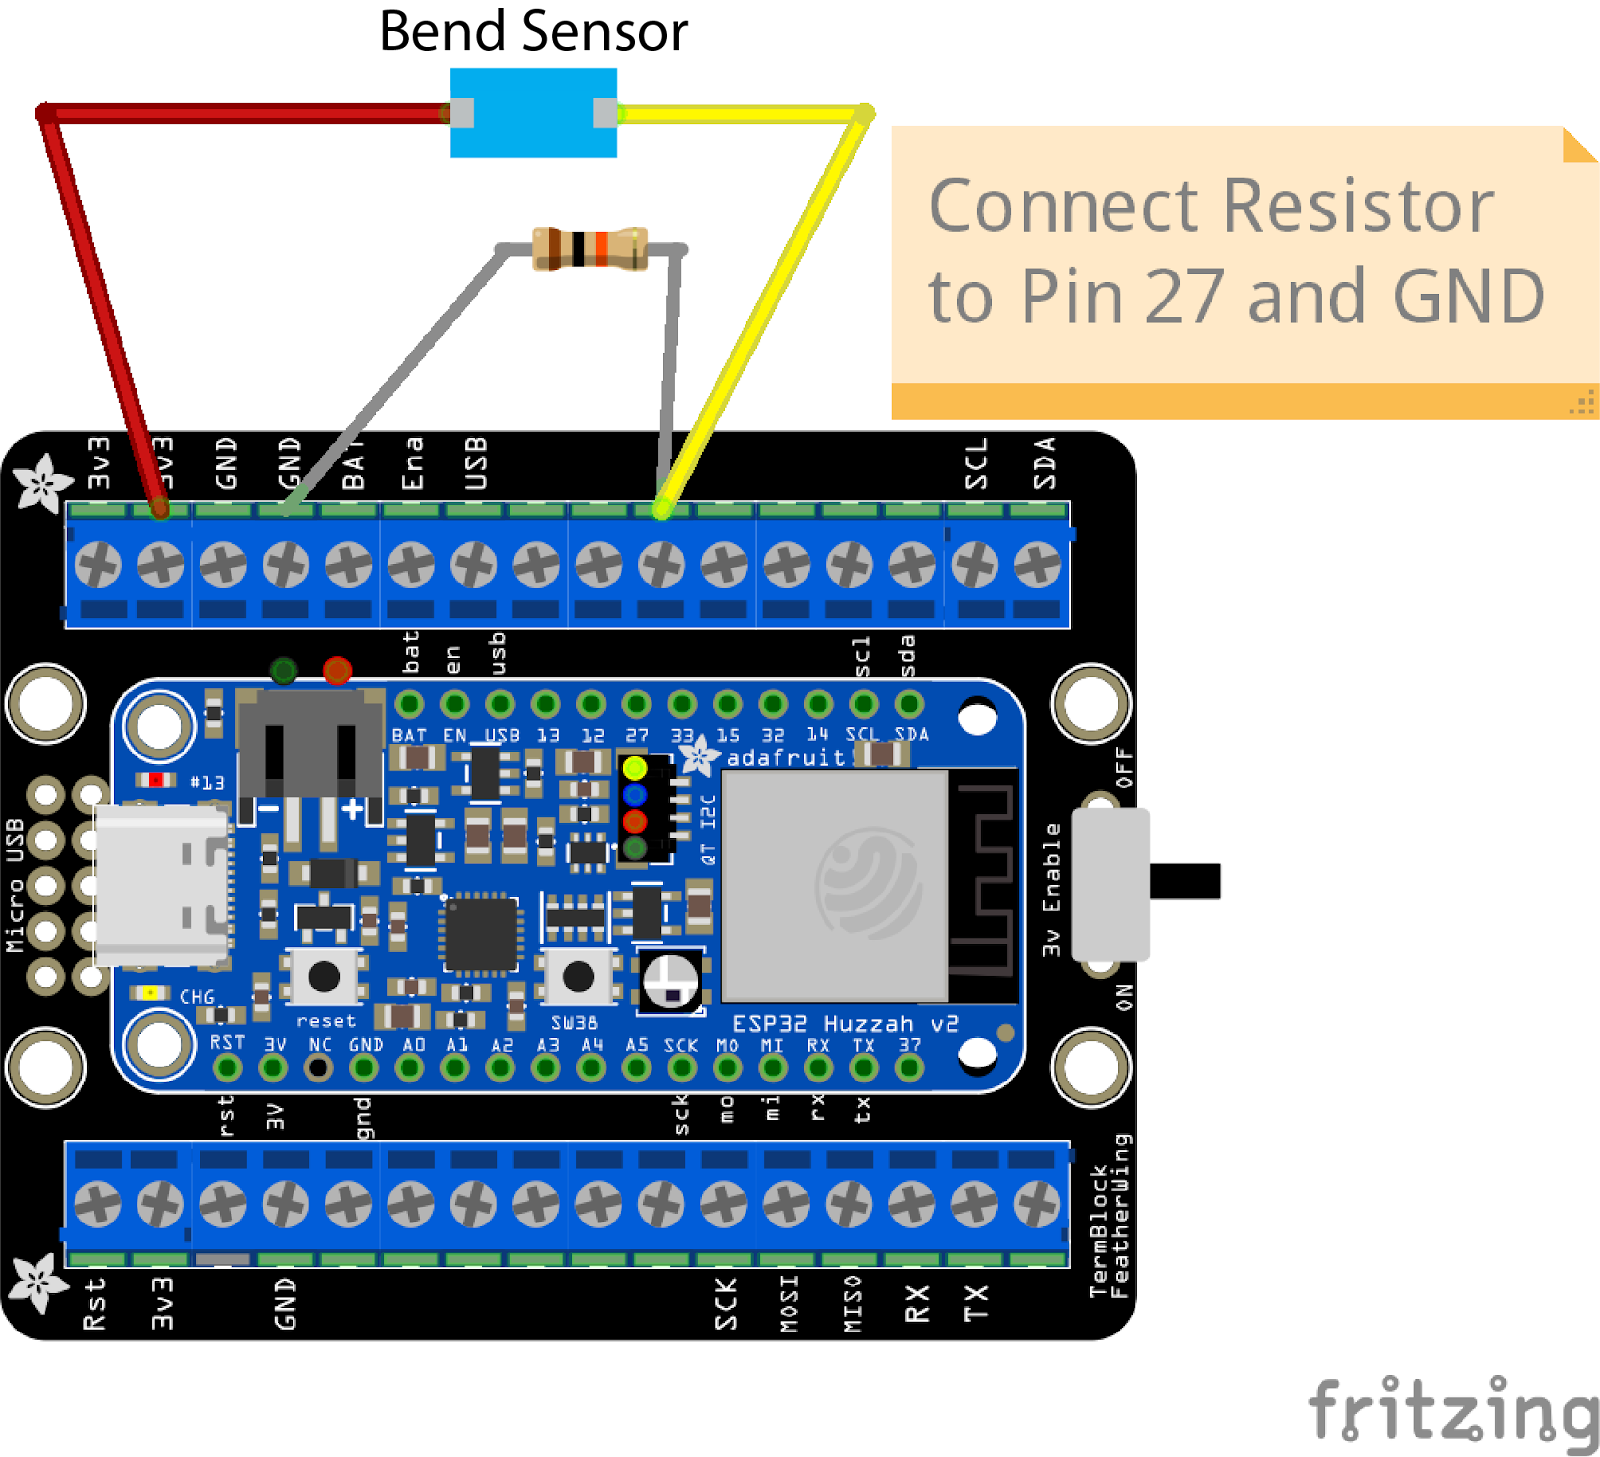
Connect one end of the bend sensor to the 3.3v pin using an alligator clip and the other end to Pin 27 on the board. Add a 10k ohm resistor to Pin 27 and the Ground Pin on the board.
Circuit Diagram
Code
Connect the ESP32 feather board to your laptop using the USB-C cable and open Arduino IDE. Download the Adafruit NeoPixel Library on Arduino IDE. Following the setup guide, select “Adafruit ESP32 V2 board” and the correct port. Then upload the following code example to your board.
#include <Adafruit_NeoPixel.h>
#define FLEX_SENSOR_PIN 27  //Bend sensor is connected to pin 27
#define NEOPIXEL_PIN 0      //NeoPixel is on pin GPIO0
#define NUM_PIXELS 1        // Number of Neopixels

Adafruit_NeoPixel pixels(NUM_PIXELS, NEOPIXEL_PIN, NEO_GRB + NEO_KHZ800);

void setup() {
  Serial.begin(9600);
  pixels.begin();
  pinMode(FLEX_SENSOR_PIN, INPUT);
}

void loop() {

  // Read the value from the flex sensor
  int flexValue = analogRead(FLEX_SENSOR_PIN);
  // Map the flex sensor value to the color spectrum (adjust values according to your sensor)
  int red = map(flexValue, 0, 1023, 0, 255);
  int green = 0;
  int blue = map(flexValue, 0, 1023, 255, 0);

  // Can adjust the brightness between 0-255
  int brightness = 100;

  // Set the color and brightness of the Neopixel LED
  pixels.setPixelColor(0, pixels.Color(red, green, blue));
  // Assuming only one Neopixel
  pixels.setBrightness(brightness);
  pixels.show();

  // Print flex sensor value for debugging
  Serial.print("Flex Sensor Value: ");
  Serial.println(flexValue);
  delay(100);  // Adjust delay according to your application

}
Demo Video
Part 2 – Bend Sensor Moving Sphere in VR
What You Need
- Bend Sensor Wearable
- Laptop
- Quest Headset
Upload Arduino code example to ESP32 Feather Board
Plug in the ESP32 feather board to your laptop and open up the Arduino IDE. The code example is a mix of both the setup example script and the bend sensor NeoPixel code.
Following the setup guide, select “Adafruit ESP V2 board” and the correct port. Then upload the following code example to your board.
#include <BluetoothSerial.h>
BluetoothSerial BTSerial;
#define FLEX_SENSOR_PIN 27

// the setup routine runs on start and once when you press reset:

void setup() {

  //change Name_Board_Here to something distinct and memorable -- this is the device name you will see when Bluetooth pairing
  BTSerial.begin("ESP32_Trish");

  // initialize serial communication at 9600 bits per second:
  Serial.begin(9600);

  pinMode(FLEX_SENSOR_PIN, INPUT);

}

// the loop routine runs over and over again forever:
void loop() {
  int Reading = analogRead(FLEX_SENSOR_PIN);
  BTSerial.println(Reading);
  Serial.println(Reading);
  delay(100);
}
At this point, you can unplug your board and connect your battery so you may wear your Bend Sensor.
Unity
Create an empty game object and name it something like SphereContainer.
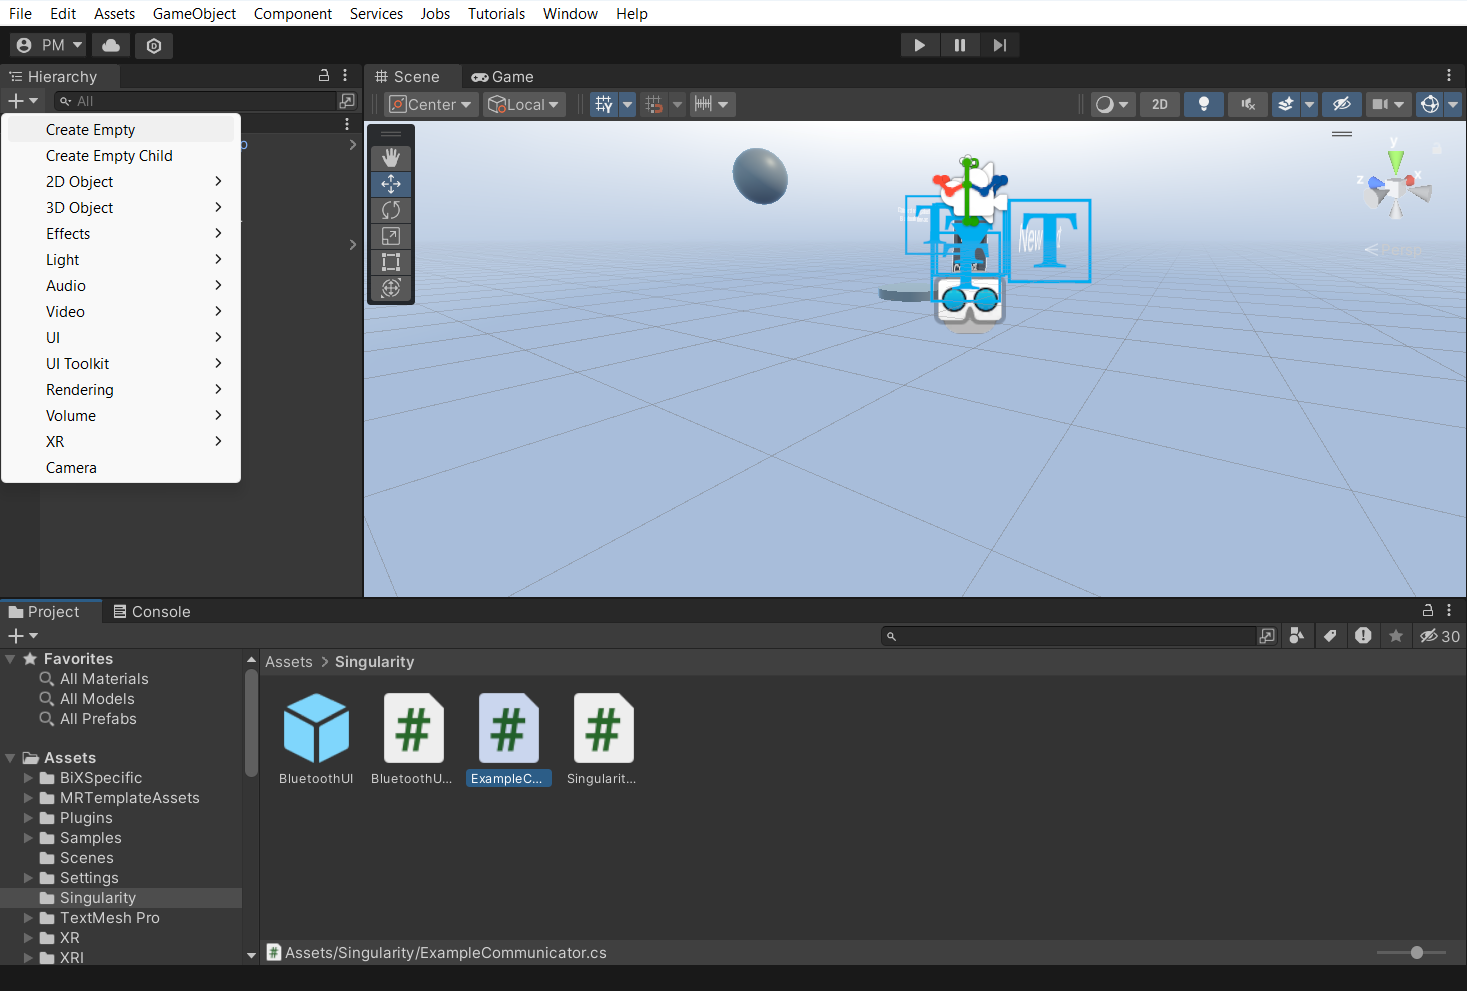
Create a sphere inside the empty game object. Move to the front of the camera.

Add script to ExampleCommunicator
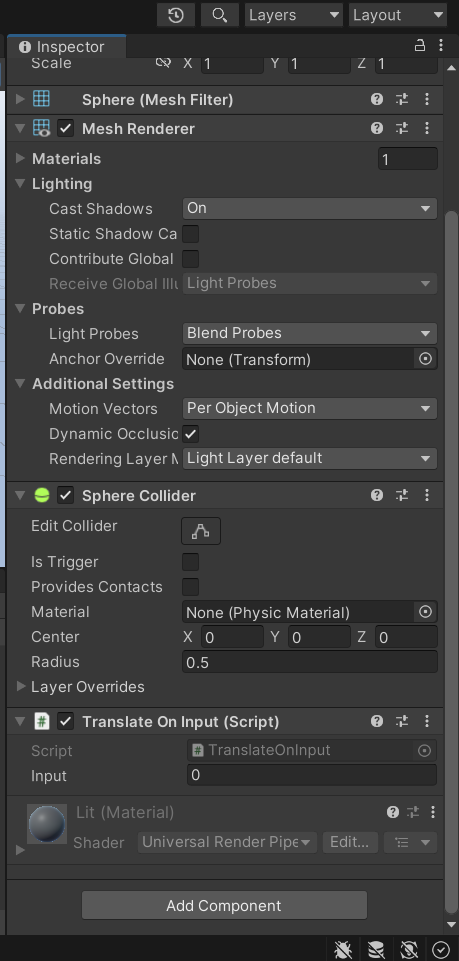
Add a C# script to sphere called “TranslateOnInput”.

Create the following property:
public int input = 0;You should be able to see it appear in your Inspector.
In update(): add this block of code:
float Range = Mathf.Lerp(0,2,Mathf.InverseLerp(0,1023,input)); gameObject.transform.localPosition = new Vector3(0,0,Range);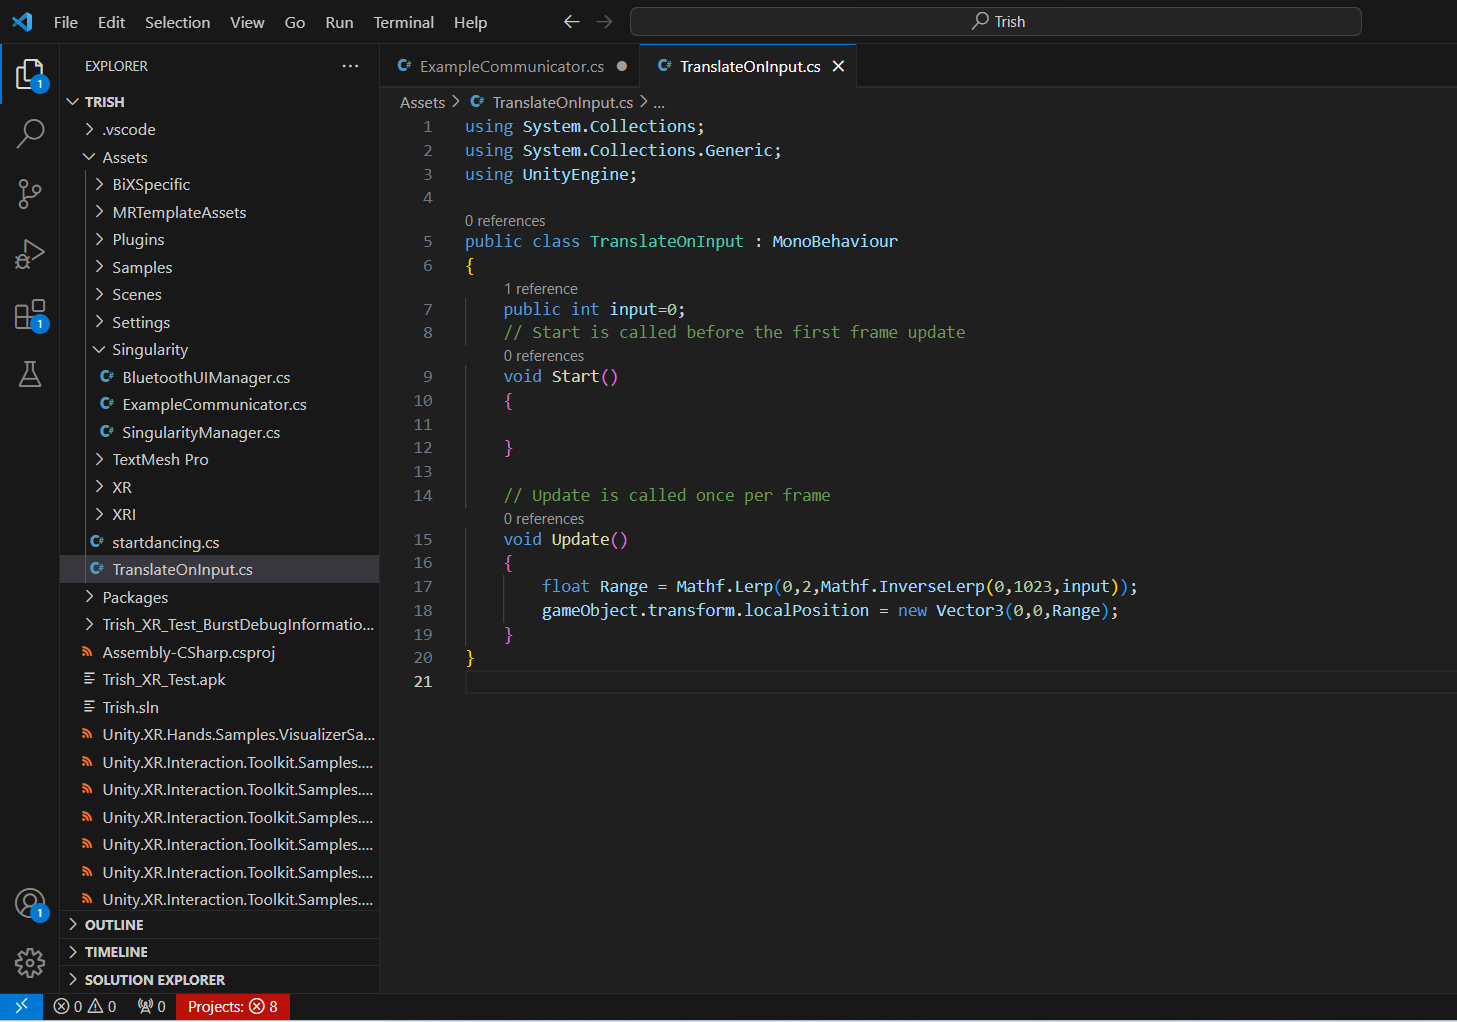
In the ExampleCommunicator script, create another new property:
public TranslateOnInput sphere;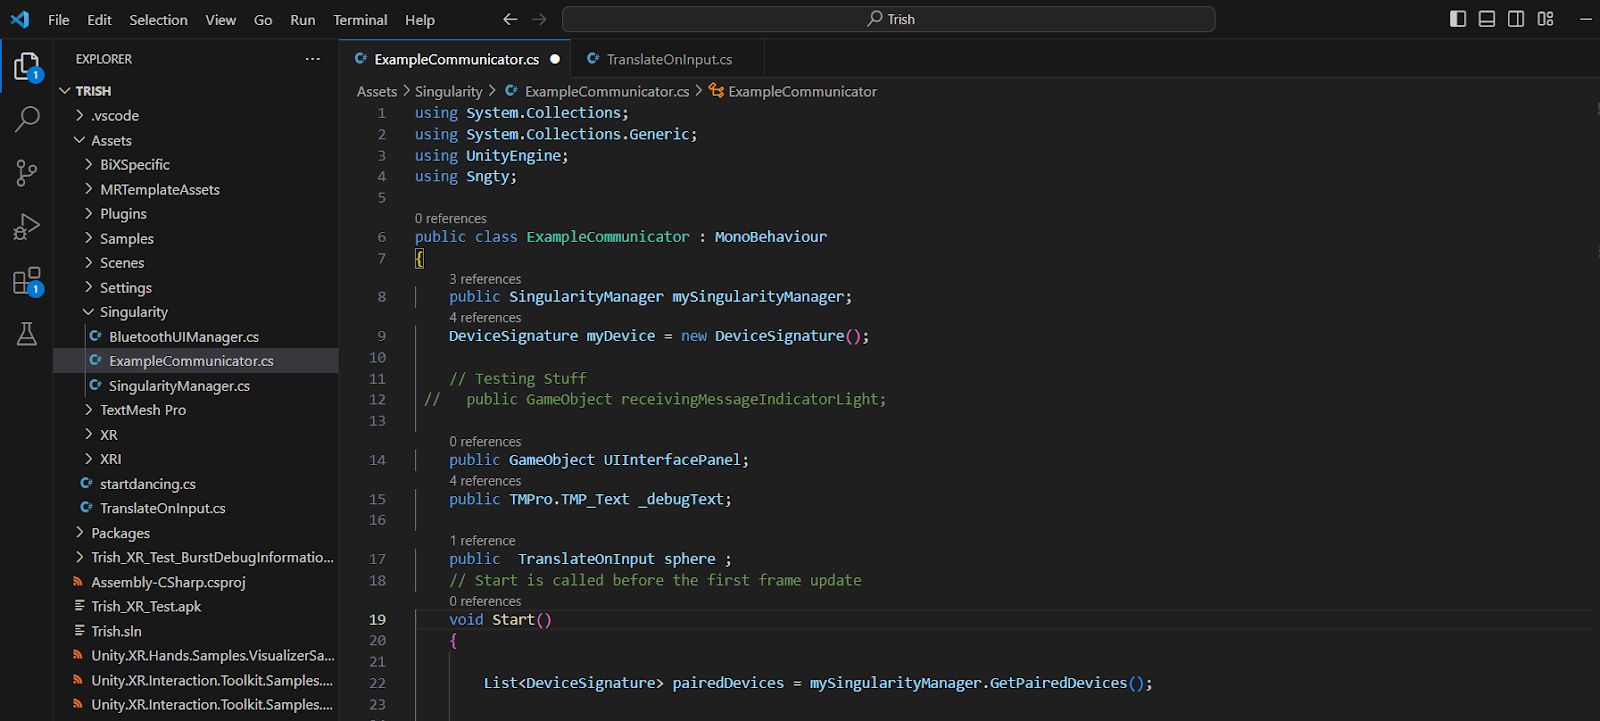
After
onMessageReceived(string message){ comment out everything and add:
sphere.input = int.Parse(message);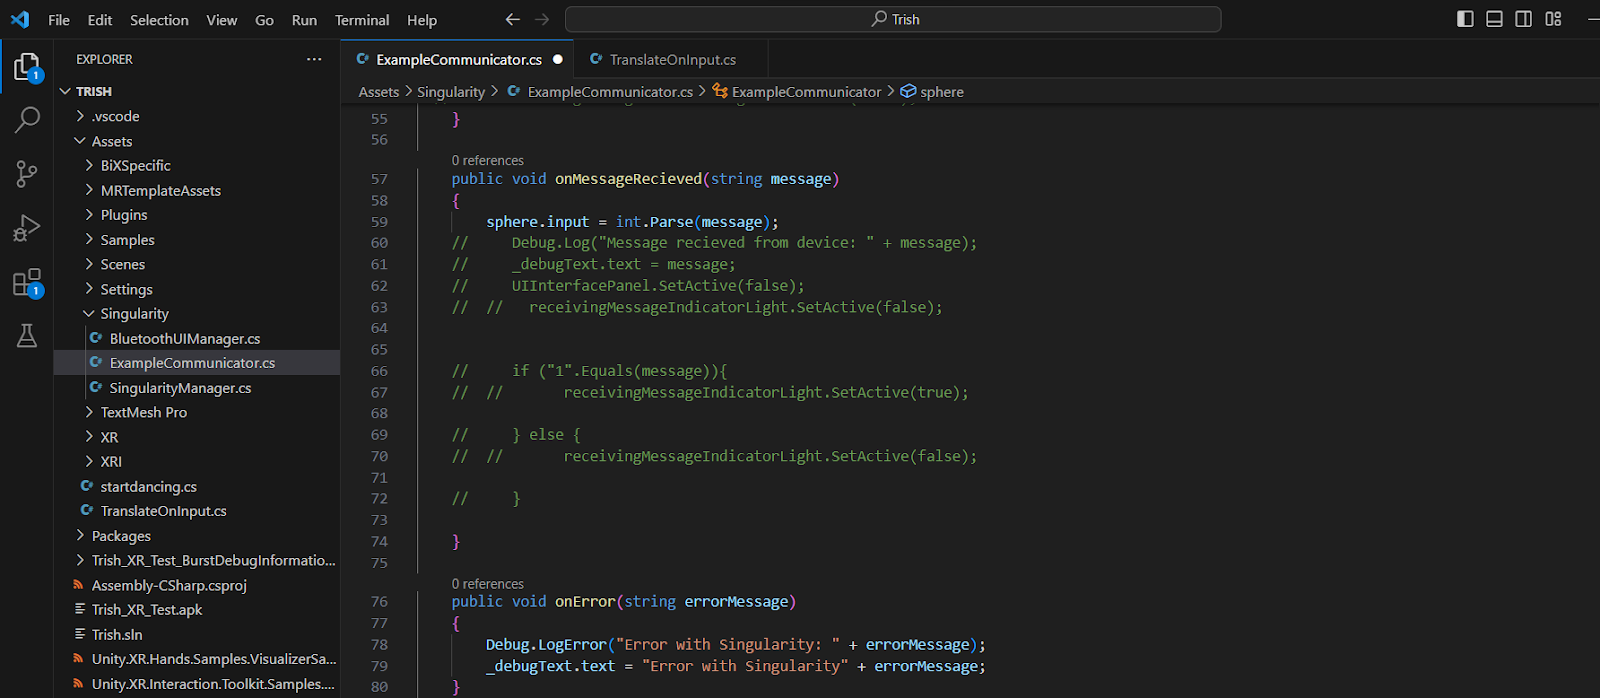
Drag sphere from hierarchy to exampleCommunicator.sphere
Build and Run
Build and Run as usual. Using your bend sensor control the movement of the sphere in your VR headset.
Example tutorial by Trish Mwenda